
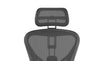
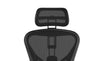
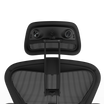
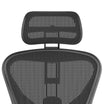
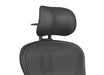
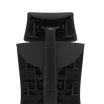
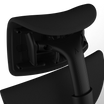
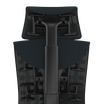

Installing your Atlas Headrest for the Leap V2 chair is simple and quick. Follow the steps below to ensure a secure fit and optimal ergonomic support.
Leap V2 Headrest Parts
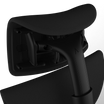
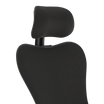
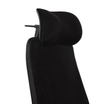
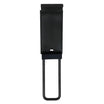
The Atlas Leap V2 Headrest includes two main components:
-
Headrest Frame
-
Arm Mechanism
Your included hardware pack comes with:
-
(3) Installation Screws
-
(1) 3/16" Allen key (wrench)
-
(1) Plastic back cover for a clean finish
Watch the Installation Video
Step-by-Step Leap V2 Headrest Installation Instructions
1. Attach the Arm Mechanism
- Hook the top of the arm mechanism between the fabric cushion and the back panel of your chair. It should sit securely on the plastic portion of the chair back.
- Latch the bottom of the arm mechanism to the chair frame by gently pressing until it snaps into place.
- Push upward on the small clip at the bottom of the arm mechanism until it clicks, locking the arm securely to the chair.
2. Prepare to Attach the Headrest Frame
- Open the hardware bag and locate the three screws and 3/16" Allen key.
- Align the back of the headrest frame with the arm mechanism, matching the arrow on the headrest with the opening in the arm mechanism.
- Ensure the arrow is pointing upward.
3. Secure the Headrest Frame
- Insert a screw into each of the left and right holes of the headrest frame.
- Use the Allen key to tighten both screws firmly into the metal bracket inside the arm.
4. Attach the Back Cover
- Line up the plastic cover with the center hole on the back of the headrest.
- Insert the final screw and tighten it with the Allen key for a clean, polished look.
5. Adjust Resistance
-
Horizontal tension: Turn the top knob clockwise to increase tension, or counterclockwise to decrease it.
-
Vertical tension: Turn the bottom knob clockwise to increase tension, or counterclockwise to decrease it.
Tip: Set the resistance so the headrest stays firmly in place, but still allows for easy adjustment by hand.
6. Final Test
- Move the headrest through its full range of motion to confirm smooth operation.
- Make sure all screws are tightened and the headrest is properly aligned.
Your Atlas Headrest is now installed and ready to enhance your comfort and posture!
Downloadable Installation Card
Prefer a quick-reference version?
The same Installation Card that ships with your order is available here as a PDF for easy access or printing.
Attachments :

AtlasHeadrestSteelcaseLeapV2InstallationCard.png
4 MB
